Salon visits are lovely. But they're not always convenient.
Between busy schedules and rising prices, more people are learning to do their nails at home. And with the right tools, the results can genuinely rival a salon finish.
This guide walks you through the essentials. No experience needed — just patience and a bit of practice.
Why Home Nail Art Has Become So Popular
Home nail art isn't just a trend. It's a shift in how people think about self-care.
It saves money over time
It fits your own schedule
It lets you experiment freely
It builds a genuinely useful skill
However, good results depend on using the right products and following proper steps. Skipping prep work is the most common mistake beginners make.
Getting Your Nails Ready
Preparation matters more than people expect.
Start by pushing back your cuticles gently. Then buff the nail surface lightly. This helps products adhere properly.
Additionally, clean each nail with alcohol before you begin. This removes oils that can weaken your polish or extension bond.
Choosing the Right Tools
You don't need a professional studio. You just need the correct basics.
A few essentials to have on hand:
A quality base and top coat
Nail files and buffers
Cuticle pushers
LED or UV lamp (if using gel products)
A fine Acrylic Nail Brush Nail Art tool for detailed designs
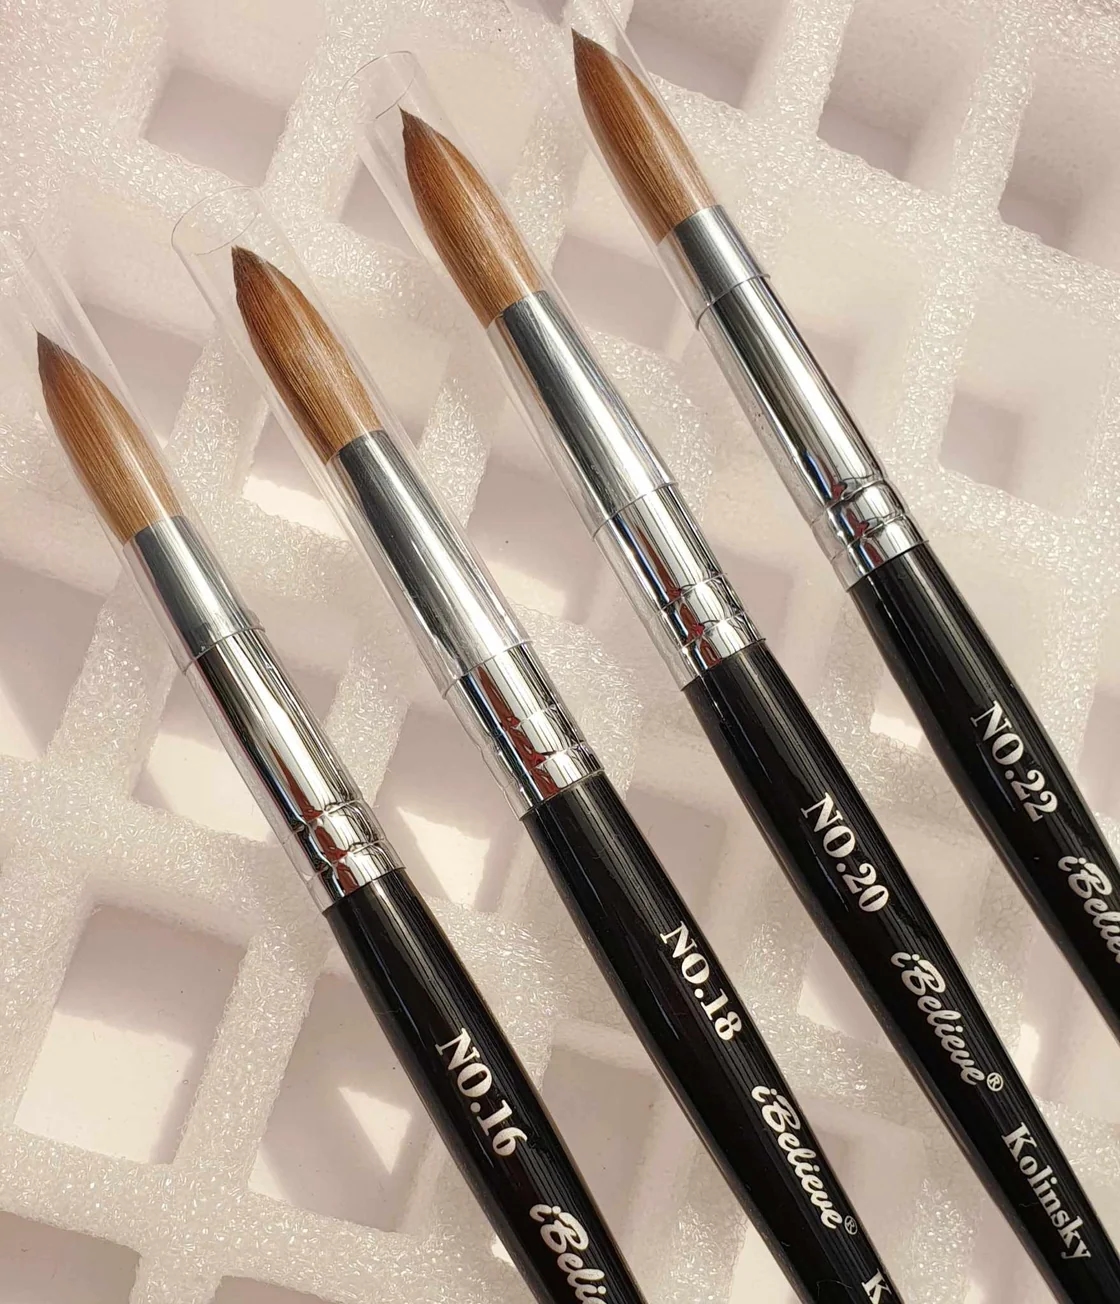
That brush matters more than people realise. It controls precision. Thin lines, dots, and florals all depend on brush quality. Cheap brushes shed bristles and ruin clean edges.
Building Length: Extensions Explained
Not everyone has long natural nails. That's where extensions come in.
Two popular options exist: acrylic and gel systems.
Gel Nail Extension kits have grown especially popular at home. They're lighter than traditional acrylics. Many people also find them easier to shape and cure under a lamp.
Therefore, if you're a beginner, gel extensions may feel more forgiving than acrylic powder-and-liquid systems, which require faster, more confident application.
Step-by-Step: A Simple At-Home Design
Here's a basic approach for beginners:
Apply a thin base coat and cure or air-dry it
Add two coats of your chosen colour
Use your detail brush to add a simple design — dots, lines, or a small floral accent
Seal everything with a top coat
Cure under a lamp if using gel products
Keep designs simple at first. Confidence builds with repetition.
Common Mistakes to Avoid
Skipping the alcohol wipe-down step
Applying polish too thick
Rushing the curing time
Using old, stiff detail brushes
Ignoring cuticle care
Avoiding these alone will noticeably improve your results.
FAQs
Is acrylic nail art hard to learn at home?
Not particularly. It takes practice, but basic designs are achievable within a few tries.
How long do home gel extensions typically last?
Usually two to three weeks with proper care and a good top coat seal.
Do I need a UV lamp for gel work?
Yes, most gel-based extensions require curing under UV or LED light to set properly.
Conclusion
Creating salon-style nail art at home is entirely achievable. It just takes the right tools, some patience, and a willingness to practise.
Start small. Build your confidence gradually. Soon, your at-home manicures may rival anything from a professional studio.
About Nail Glam Online
Nail Glam Online is a Sydney-based supplier of nail products, offering gel polishes, dipping systems, extension kits, nail art tools, and electrical devices across Australia. The company positions itself as the official distributor of Shalonlab in Sydney, and it caters to both everyday nail enthusiasts and professionals seeking salon-grade products. Alongside its online store, Nail Glam runs an educational blog covering nail care tips and trends, aiming to support customers at every stage of their nail journey — from beginners trying their first gel kit to more experienced users refining their technique.
Call to Action
Ready to start your own salon-style nail journey?
Learn more about nail art techniques on the Nail Glam blog