Getting a passport-size photo ready for an application does not always require a professional photo studio. With a clear photo, the right dimensions, and a few basic edits, you can prepare a suitable digital photo at home.
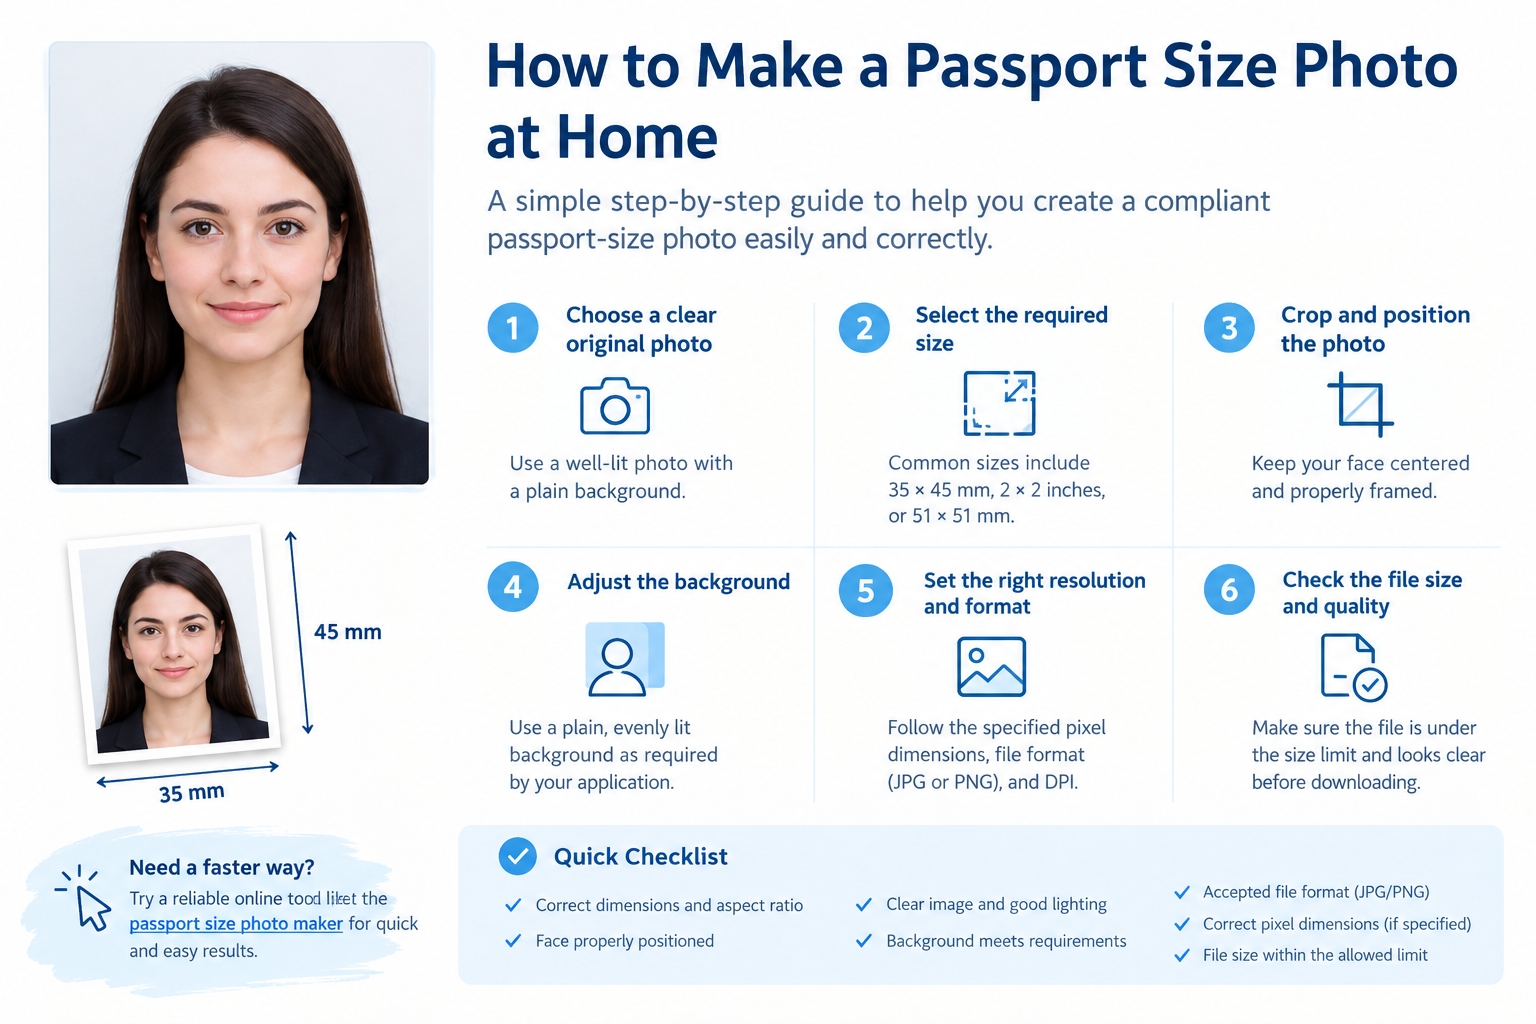
The important part is not simply making a photo smaller. You need to consider the required dimensions, aspect ratio, cropping, image quality, file format, and sometimes a maximum file-size requirement.
This guide explains a practical way to prepare a passport-size photo while avoiding some of the most common mistakes.
1. Start With a Clear Original Photo
The quality of the finished passport photo depends heavily on the original image.
Choose a photograph where your face is clearly visible and reasonably well lit. Avoid images that are heavily blurred, extremely dark, or affected by strong shadows. A simple, uncluttered background can also make the editing process easier.
You do not necessarily need a professional camera. A modern phone camera can produce a useful source image if the lighting and focus are good.
2. Check the Required Photo Size
Passport and identification photo requirements are not identical everywhere. Different countries, authorities, visa applications, schools, employers, and online systems may request different dimensions.
Common examples include:
35 × 45 mm
35 × 50 mm
45 × 55 mm
2 × 2 inches
51 × 51 mm
Before editing your photograph, check the requirements of the organization receiving it.
For a quick reference, you can also use the passport size photo maker to prepare a photo with custom dimensions.
3. Choose the Correct Aspect Ratio
Dimensions determine the shape of your final image.
For example, a 35 × 45 mm photograph has a 7:9 aspect ratio, while a 2 × 2 inch photograph is square. If you simply resize an image without considering its proportions, the result can look stretched or distorted.
Cropping is therefore usually preferable to stretching.
Select the required dimensions first, then position the photograph inside the crop area so that the subject remains properly framed.
4. Crop and Position the Photo Carefully
Cropping is one of the most important steps.
Keep the face centered and make sure important parts of the head and shoulders are not accidentally cut off. Avoid excessive empty space around the subject, but do not crop so tightly that the photograph fails to meet the requirements of the application.
A useful editor should allow you to zoom and reposition the image before exporting it.
If you are unsure about the process, this step-by-step guide to making a passport-size photo explains the process in more detail.
5. Pay Attention to the Background
Many applications have specific background requirements. A plain, evenly lit background is generally easier to work with than a busy or patterned background.
It is important to remember that simply resizing a photograph does not automatically make the background compliant with every country's requirements.
If the application specifies a particular background color or appearance, check its official instructions before submitting your photograph.
6. Select the Appropriate Resolution
Digital photos are often specified in pixels or DPI rather than only physical dimensions.
For example, a 35 × 45 mm photo at 300 DPI is approximately 413 × 531 pixels.
The correct pixel dimensions depend on the physical size and resolution required by the application. When an application provides exact pixel requirements, follow those requirements instead of relying on a generic setting.
7. Choose JPG or PNG
The appropriate file format depends on what the receiving system accepts.
JPG is commonly useful for photographs because it provides a relatively small file size while maintaining suitable image quality. PNG can also be useful when the receiving system specifically supports it or when you need its particular image characteristics.
Always check the application's accepted formats before downloading your final image.
8. Check the Maximum File Size
Some online applications place limits on the size of uploaded photographs.
A technically correct photograph can still be rejected if the file is larger than the allowed limit.
If a maximum size is specified, you may need to compress the JPG while keeping the selected pixel dimensions unchanged. It is useful to check the final file size before uploading it.
9. Review the Photo Before Downloading
Before you submit the photograph, take a final look at:
Required width and height
Aspect ratio
Face positioning
Background
Image clarity
File format
Pixel dimensions
Maximum file size
This short review can prevent avoidable upload problems.
10. Keep the Original Photo
It is a good idea to keep the original photograph separately from the edited version.
That way, you can create another version if a different application requires a different size, background, resolution, or file-size limit. You will not need to retake the photograph every time a different specification is required.
A Simple Workflow
The entire process can be reduced to five basic steps:
Choose a clear photo → Select the required size → Crop and position → Adjust output settings → Download and check the final file
A browser-based editor can make this process especially convenient because you can complete the basic editing without installing desktop photo-editing software.
Final Checklist
Before uploading your passport-size photo to an application, confirm:
✓ The dimensions match the requested specification
✓ The aspect ratio is correct
✓ Your face is properly positioned
✓ The image is clear and well lit
✓ The background meets the stated requirements
✓ The file format is accepted
✓ The pixel dimensions are correct when specified
✓ The file size is within the allowed limit
Most importantly, always follow the requirements published by the authority or organization receiving the photograph. Requirements can vary, and using a correctly sized image does not by itself guarantee acceptance.
With the right source photograph and careful cropping and export settings, preparing a passport-size photo at home can be a straightforward process.