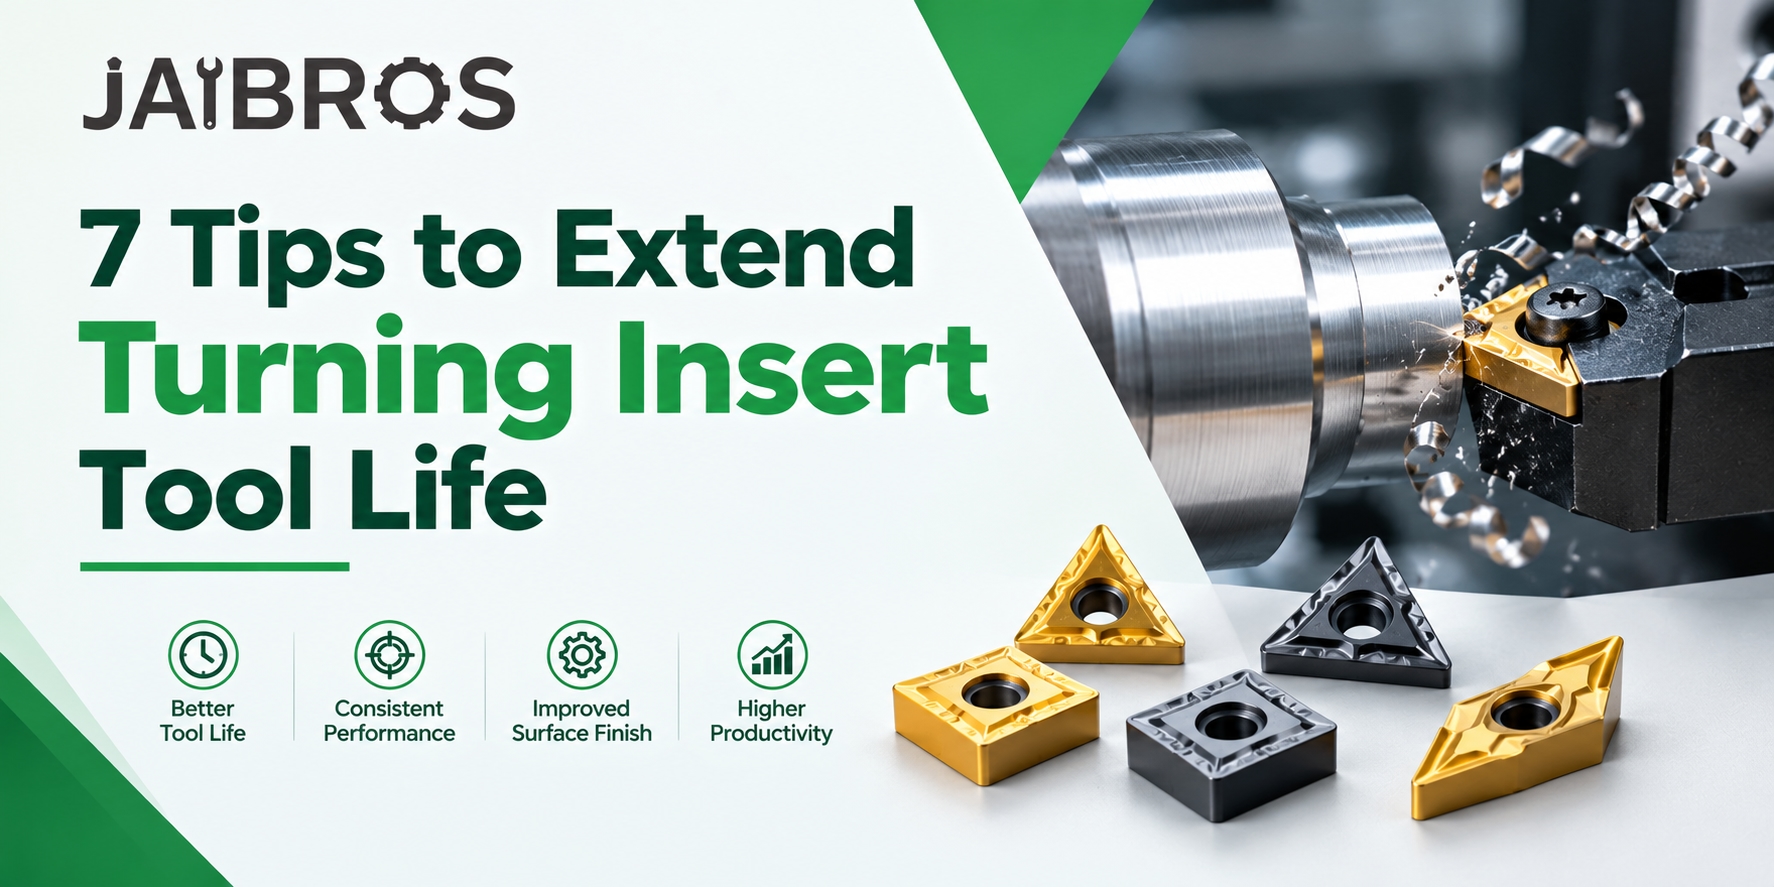
Every machinist knows the frustration of an insert that wears out too soon. Frequent changes slow production, spoil surface finish, and raise the cost of each part. The good news is that most early failures come from a few avoidable mistakes. A well-chosen turning insert, used with the right settings and a rigid setup, can last much longer. These seven tips will help you get more parts from every cutting edge.
1. Match the Insert Grade to Your Material
Different materials need different carbide grades, coatings, and chip breakers. Steel, stainless steel, cast iron, and aluminium all behave differently under the cutter. ISO groups help here: P is for steel, M for stainless steel, K for cast iron, N for non-ferrous metals, S for heat-resistant alloys, and H for hardened steel.
Using the wrong turning insert for the material is one of the fastest ways to lose tool life. Also read the shape code, such as CNMG, DNMG, or WNMG. Stronger shapes like rhombic 80° and round inserts handle heavy cuts, while sharper shapes suit detail work but break more easily. You can compare options in this carbide insert range.
2. Use the Correct Cutting Speed and Feed
Cutting speed has the biggest effect on tool life. If it is too high, heat builds up, the coating breaks down, and crater wear forms on the top face. If the feed is too low, the edge rubs instead of cutting. This causes work hardening, especially in stainless steel.
Start with the range recommended on the insert maker’s data sheet. Then adjust in small steps of about 5 to 10 percent while watching the wear pattern. Small, careful changes give better results than big guesses.
3. Choose a Rigid Turning Tool Holder
Even the best turning insert will fail early in a loose or worn holder. Vibration chips the cutting edge in seconds. Keep the tool overhang as short as possible, and as a general rule, avoid extending the tool more than about 1.5 times the shank height.
Holders come in several clamping styles, including top-clamp, lever-lock, and screw-on. Choose the one that suits your insert shape and the job. If you are comparing turning tool holder types, check that the pocket is clean, the seat is flat, and the screw is tightened to the recommended torque.
4. Apply Coolant the Right Way
Coolant removes heat and flushes chips away, but only when used correctly. Aim a steady stream directly at the cutting edge. An uneven or on-and-off flow can cause thermal cracks in carbide, especially in interrupted cuts.
Some jobs, such as certain cast iron operations, run better dry. If you are unsure, follow the tooling guide for your material and keep the setup consistent.
5. Pick the Right Nose Radius and Depth of Cut
A larger nose radius gives a stronger edge and a better surface finish, but it also creates more cutting force. That can cause chatter on thin or long parts. A smaller radius reduces force but is easier to chip.
Keep your depth of cut in step with the radius. Very light cuts on a large radius cause rubbing and poor chip formation. For roughing, choose a stronger radius. For finishing slender workpieces, a smaller one often works better.
6. Control the Chips
Chips that wrap around the workpiece or stay in the cutting zone get cut again, and this damages the edge. Choose a chip breaker that fits your depth of cut and feed. If chips are long and stringy, increase the feed slightly or change the geometry. Clear chips often, especially during deep internal work with a boring bar.
7. Watch Wear and Index on Time
Each turning insert has several cutting edges, so indexing at the right moment gives you more value from every piece. Inspect the edge regularly with a magnifier. A common guide is to change the edge when flank wear reaches about 0.3 mm, although finishing jobs need a stricter limit.
When you index, clean the pocket and remove any chips or dirt. Dirt under the insert causes poor seating and early failure. Store spare carbide inserts in their original boxes so the edges do not knock against each other.
Conclusion
A turning insert lasts longest when the grade, geometry, cutting data, holder, and coolant all work together. You do not need to change everything at once. Start with one tip, such as checking holder rigidity or adjusting speed, and track the results. Over time, small improvements add up to longer tool life, steadier quality, and lower machining costs.
If you are looking for reliable carbide inserts, tool holders, and other CNC tooling from trusted brands, visit Jaibros and compare the options in one place. Whether you need the right insert grade or a suitable turning tool holder, you can find the brand that fits your material and your machine.
Frequently Asked Questions
1. How long should an insert last?
There is no fixed number, because tool life depends on the workpiece material, cutting speed, feed, depth of cut, and machine rigidity. Many shops plan around 15 to 30 minutes of cutting time per edge, then adjust based on measured wear. Track how many parts each edge produces, and use that record to set a reliable change interval for your process.
2. What are the signs of a worn insert?
Common signs include a rough or shiny surface finish, parts drifting out of tolerance, burrs, unusual noise, and higher spindle load. On the insert itself, look for flank wear, crater wear on the top face, chipped corners, or material welded to the edge. Check the cutting edge under a magnifier regularly, and index it before wear becomes severe.
3. Does coolant always improve tool life?
No. Coolant helps remove heat and chips in most steel and stainless steel work, but an uneven or interrupted flow can cause thermal cracks in carbide. Some operations, such as certain cast iron cuts, run better dry. Direct a steady stream at the cutting edge, or turn it off completely, rather than switching it on and off during the cut.
4. Why does the tool holder affect insert life?
A turning tool holder keeps the insert steady against cutting forces. A worn pocket, loose screw, or long overhang allows vibration, and vibration chips the edge quickly. Choose a holder that fits the insert shape and the job, keep the seat clean, tighten clamps to the recommended torque, and replace holders that show damage or wear.
5. What are the common turning tool holder types?
Common types include top-clamp, lever-lock, screw-on, and multi-clamp holders. They also come in external and internal styles, and in left-hand, right-hand, and neutral versions. The best choice depends on insert shape, cutting forces, and whether you are roughing or finishing. Heavy cuts usually suit top-clamp or lever styles, while screw-on holders suit lighter, positive-geometry work.