Modern kitchen taps, especially pull-out models, are a popular choice for many homeowners in Ireland due to their functionality and stylish design. A pull-out tap offers convenience, allowing you to extend the spout to wash large dishes, rinse vegetables, or clean around the sink area with ease. However, like any plumbing fixture, pull-out kitchen taps can encounter issues over time. Whether it's a loose hose, a low water pressure, or an issue with the pull-out mechanism, knowing how to fix common problems can help restore the tap to its full functionality.
In this guide, we’ll walk you through the steps of fixing a pull-out kitchen tap, ensuring it remains an efficient and reliable feature in your modern Irish bathroom or kitchen.
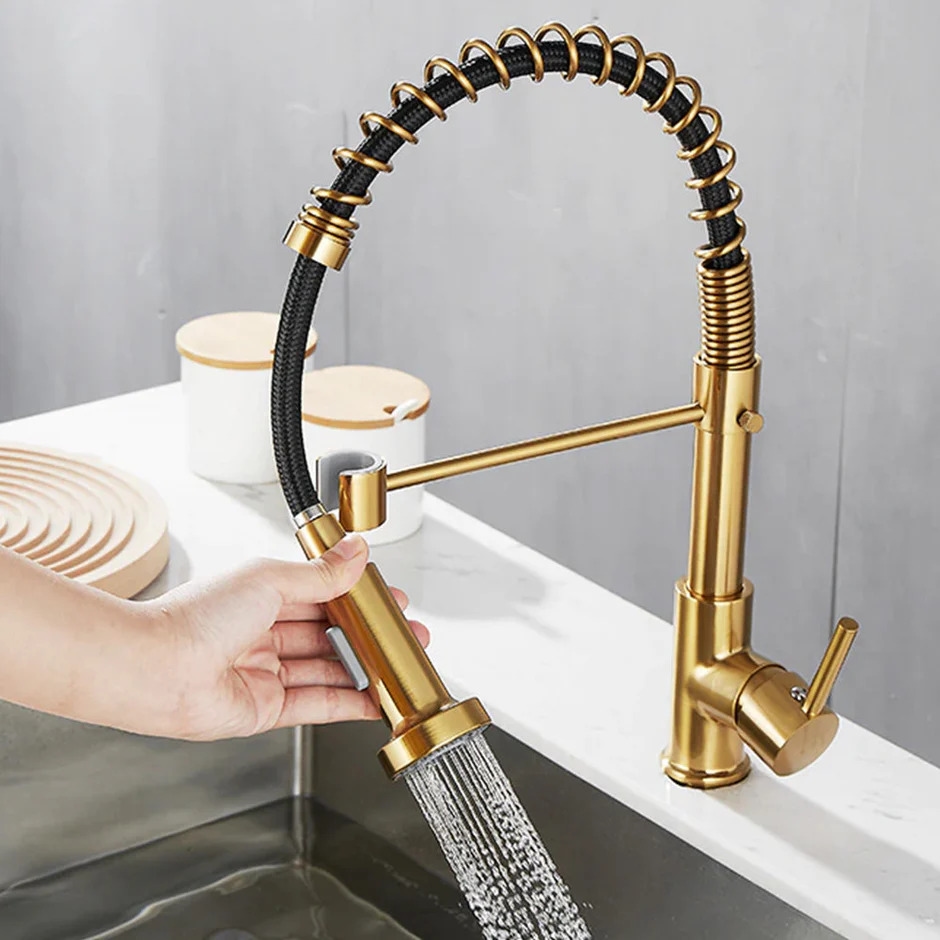
Common Problems with Pull-Out Kitchen Taps
Before diving into the repair process, it’s important to first identify the issue. Here are some common problems that homeowners encounter with pull-out kitchen taps:
Low Water Pressure: This can happen if the aerator or filter is clogged, or the water supply line is partially blocked.
The Hose Won’t Retract Properly: The hose may get stuck, preventing it from smoothly retracting into the tap’s housing.
Leaking: A common issue that could arise from damaged washers, worn-out seals, or loose connections.
The Pull-Out Mechanism Is Stiff or Broken: Over time, the spring mechanism that allows the hose to extend and retract may become stiff or fail.
Noise: A noisy tap when water flows could be due to air bubbles, sediment build-up, or a loose fitting.
Tools You’ll Need
Before you start the repair process, gather the following tools:
Adjustable wrench
Plumber’s tape
Replacement parts (e.g., washers, O-rings, or filters)
Screwdriver
Pliers
Bucket or towel (to catch any water that might spill)
Step-by-Step Guide to Fixing a Pull-Out Kitchen Tap
Step 1: Turn Off the Water Supply
Before working on the tap, always turn off the water supply to prevent any leaks or spills during the repair process. You’ll typically find the water shut-off valves under the sink. Turn them clockwise to shut off the water.
Step 2: Check the Hose for Blockages or Kinks
If the pull-out hose isn’t retracting properly, there could be a blockage or kink in the hose. Gently pull out the hose and check for any twists or bends. If the hose is twisted, straighten it out to ensure smooth operation. If you notice any blockages, detach the hose from the tap and flush it out with water. Use a small brush or cloth to clean any debris or build-up inside the hose.
Step 3: Clean the Aerator or Filter
Low water pressure is often caused by a clogged aerator. To fix this:
Unscrew the aerator from the end of the pull-out tap using your fingers or pliers.
Rinse the aerator under water to remove any build-up of mineral deposits or debris.
If the aerator looks damaged, replace it with a new one.
For models with a filter inside the hose, follow the manufacturer's instructions to remove and clean it.
Step 4: Check for Leaks or Drips
Leaking is usually caused by worn-out washers or O-rings. To fix this:
Use a wrench to remove the spout from the base, exposing the internal components.
Check the O-rings and washers for any signs of wear and tear.
If the washers or O-rings are damaged, replace them with new ones. Make sure to apply plumber’s tape around the threads to prevent future leaks.
Step 5: Lubricate the Pull-Out Mechanism
If the pull-out mechanism feels stiff or broken, it may need lubrication. Apply a small amount of silicone-based lubricant to the spring mechanism and any moving parts. This will help the hose slide in and out more easily. Be sure not to over-apply, as too much lubricant can attract dirt and grime.
Step 6: Tighten Loose Connections
Loose connections around the faucet or hose can cause leaks or uneven water flow. Use an adjustable wrench to tighten any loose fittings under the sink. Be careful not to overtighten, as this could cause damage.
Step 7: Test the Tap
Once you've addressed the issues, turn the water supply back on and test the tap. Check for proper water pressure, smooth retraction of the pull-out hose, and ensure there are no leaks. If the problem persists, you may need to replace the entire tap or consult a professional plumber.
When to Call a Professional
While many pull-out kitchen tap issues can be fixed with a little DIY effort, there are times when you should call in a professional:
If the water pressure issue persists despite cleaning the aerator and checking the hoses.
If the pull-out mechanism is completely broken and cannot be repaired.
If you're uncomfortable disassembling the tap or working with plumbing components.
A plumber will be able to diagnose and fix more complex issues, ensuring your tap is working like new.
Preventing Future Problems
To ensure your pull-out kitchen tap stays in great condition:
Clean it regularly: Clean the aerator and filter at least once every few months to prevent mineral build-up.
Avoid excessive force: When pulling out or retracting the hose, avoid jerking or pulling too hard, as this can damage the mechanism.
Inspect for wear and tear: Regularly check the washers, O-rings, and hoses for signs of wear and replace them as needed.
Use a water softener: If you live in an area with hard water, consider installing a water softener to prevent mineral deposits that can clog the tap.
Conclusion
Fixing a pull-out kitchen tap in a modern Irish bathroom or kitchen is relatively straightforward if you know what to look for. Whether you're dealing with low water pressure, a stiff mechanism, or leaks, following the steps outlined in this guide will help you restore your tap’s functionality. By regularly maintaining your tap and addressing small issues promptly, you can extend the life of your pull-out tap and keep it working like new for years to come.

