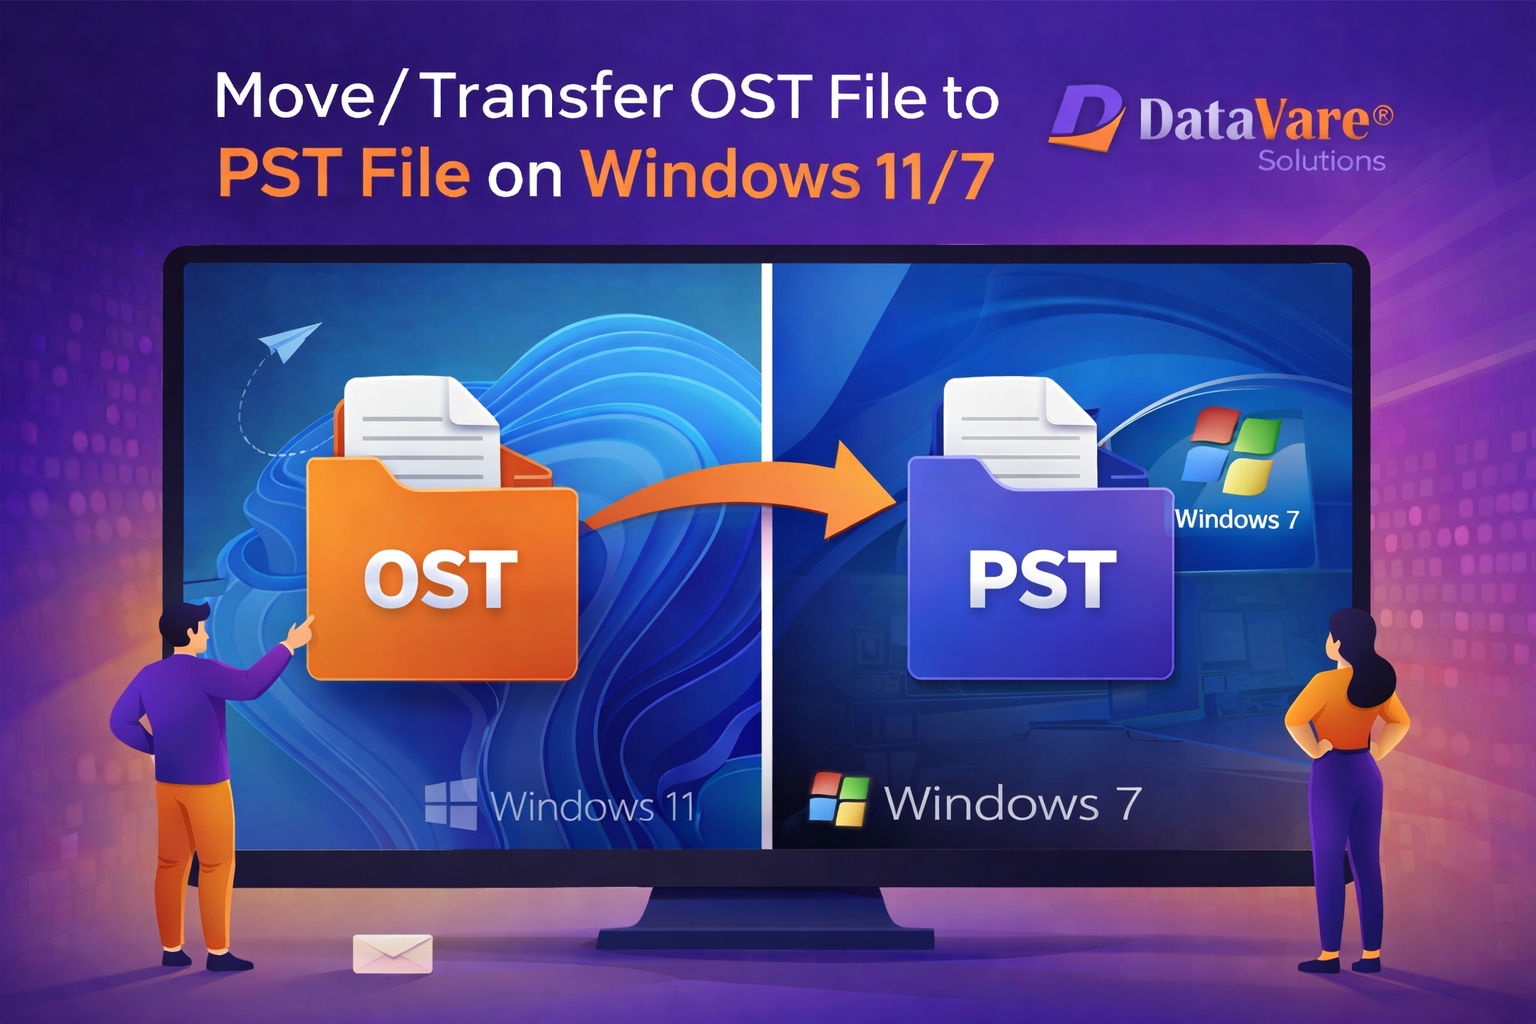
(Offline Storage Table) files and then sync their data when they connect to the server. But OST files are linked to a certain profile, so it's not easy to get to them on another computer without the original account. A lot of people need to change or move OST files to PST format, especially when they are upgrading their systems or having problems with their servers.
In this guide, we'll show you how to move or change an Datavare OST to PST Converter format on Windows 11 and Windows 7 using both manual and professional methods.
Why Should you Convert OST to PST?
People change OST files to PST files for a number of reasons:
The Exchange server crashed
The Outlook profile is broken.
Getting a new computer
To store and back up data
How to get to orphaned OST files
Switching from Windows 7 to Windows 11
You can move PST (Personal Storage Table) files around and open them in Outlook even if you're not connected to a live server.
Moving OST to PST by Hand
If your Outlook account is active and connected to the Exchange server, you can use Outlook's built-in feature to export OST data to PST.
Step 1: Open Microsoft Outlook
On your Windows 11 or Windows 7 computer, open Outlook.
Step 2: Click on the File Menu
Choose File > Open & Export > Import/Export.
Step 3: Choose the Export option
Click Next after selecting Export to a file.
Step 4: Pick the Outlook Data File (.pst)
After you choose Outlook Data File (.pst), click Next.
Step 5: Pick the Mailbox Folder
Pick the folder or mailbox you want to export. Select the "Include subfolders" option.
Step 6: Choose a destination
Go through the choices and pick a place to put the PST file.
Step 7: Finish the Process
Click Finish to begin the export process.
You can move the PST file to another computer and open it in Outlook when you're done.
The manual method has some problems.
The manual method works sometimes, but it has some issues:
Needs an Outlook profile that is active
Can't change OST files that aren't owned by anyone
Doesn't work with OST files that are broken
Long wait for big mailboxes
Risk of an export that isn't complete
You will need a professional solution if you can't get to your OST file or it is broken.
Method 2: Get a professional to move OST to PST
Even if the OST file is missing or broken, a professional tool makes sure that the conversion is safe and complete. You don't need to connect to an Exchange server to quickly convert OST files to PST format with.
You can use This Software on Windows 11, Windows 7, and other versions of Windows. It changes emails, contacts, calendars, attachments, and other parts of your mailbox without changing the original folder structure.
How to Use a Professional Tool in Steps
Step 1: Install the software
Download and install the program that changes OST files to PST files on your Windows computer.
Step 2: Add the OST file
To find and choose your OST file, open the program and click "Add File."
Step 3: Check out the information in your email box
The software scans the OST file and shows a preview of all the items in the mailbox before they are changed.
Step 4: Choose PST as the format for the output
Select PST as the format for the file that will be output.
Step 5: Pick the Path to the End Point
Choose a place to save the PST file you changed.
Step 6: Begin the change
To begin, click the "Convert" button. The program will safely convert all of the data to PST format.
Once the PST file is done, you can easily add it to Outlook on Windows 11 or 7.
How to Put a PST File in Outlook
After you change OST to PST, do the following:
Open Microsoft Outlook.
From the File menu, choose Open & Export.
Click the button that says "Open Outlook Data File."
Find the PST file that has been changed and click on it.
Click OK to load your data.
Outlook will now show you your emails and other things in your mailbox.
Key Parts of the Professional Method
Modifies OST files that don't have owners
Keeps the original structure of the folder
Keeps attachments and extra information safe
Can work with large OST files
Compatible with Windows 7 and 11
An interface that is easy to use
used this application guarantees that the conversion will be safe and correct, with no files being lost or corrupted.
How to Change Safely
Always make a copy of your OST file before you start.
Check that the disk has enough space to hold the PST file.
Close all other programs while the conversion is going on.
Don't stop the process of changing.
If you follow these tips, the data migration should go smoothly.
Conclusion
When your server goes down, your profile gets corrupted, or you move your system, you need to change or move an OST file to PST format on Windows 11 or 7. The manual method works for accounts that are still active, but it can't fix OST files that are orphaned or broken.
The best way to make sure your solution is safe and works is to use a professional tool. Datavare makes it easy and safe to Convert/Move OST files to PST files without any problems.
If you choose the right method, you can move your Outlook data and make sure that your important emails are safe, easy to find, and can be used on different systems.

