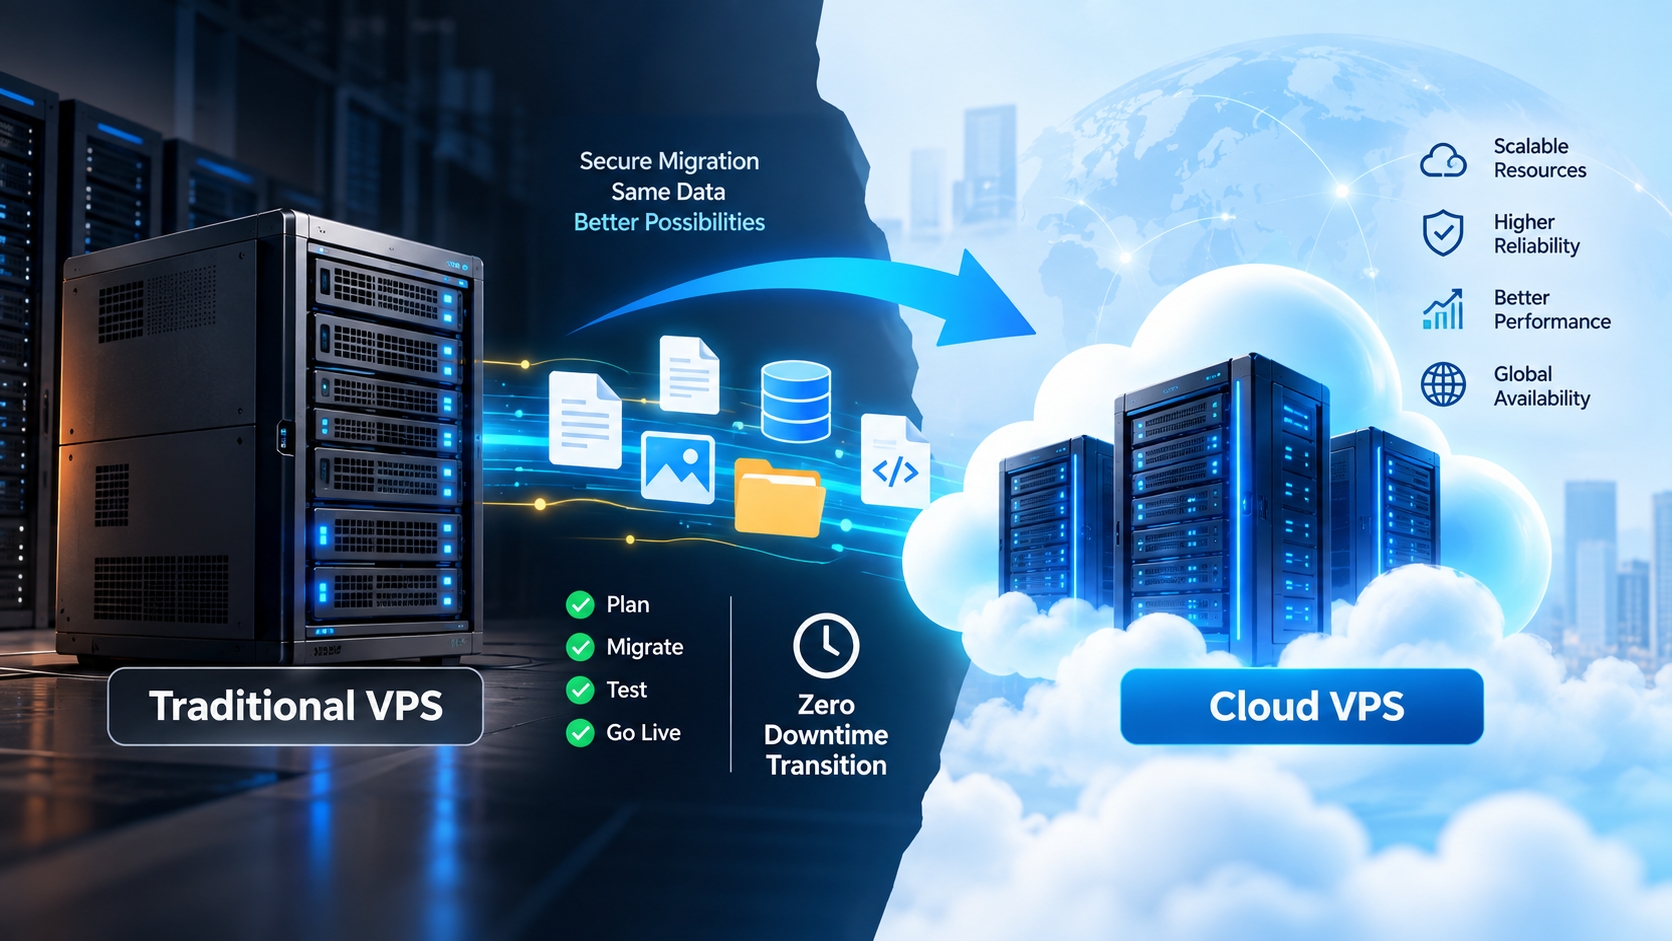
Moving a website from a traditional VPS to a cloud VPS can sound risky. Your current server may already contain websites, databases, email configurations, SSL certificates, scheduled jobs, and application files. One mistake during migration can lead to downtime or missing data.
The good news is that you don't have to shut down the old VPS first and hope everything works on the new one.
A safer approach is to prepare the cloud VPS while the existing server remains online, copy the data, test the new environment, synchronize recent changes, and only then switch traffic.
Here is the process in practical terms.
Step 1: Check What Is Running on Your Current VPS
Before moving anything, make a list of what the existing server actually handles.
Check your:
- Website and application files
- Databases
- PHP, Node.js, Python, or other runtime versions
- Web server configuration
- SSL certificates
- Cron jobs
- DNS records
- Firewall rules
- Custom software and services
This step prevents a common migration problem: successfully copying the website files but forgetting something the application depends on.
If you're planning to migrate to a cloud server, don't assume the new VPS should simply be an exact copy. This is also a good time to remove old packages, unused files, and configurations you no longer need.
Step 2: Take a Fresh Backup
Never begin a server migration without a recoverable backup.
Create backups of your website files and databases before making major changes. If your application stores uploaded images, customer files, configuration files, or other important data outside the main website directory, include those too.
Keep the backup somewhere other than the VPS you're migrating.
Why?
If something goes wrong on the original server during migration, a backup stored on that same machine may not provide much protection.
For a database-driven website, note the time of the backup because users may continue creating new data after it was taken.
Step 3: Prepare the Cloud VPS
Now configure the destination server.
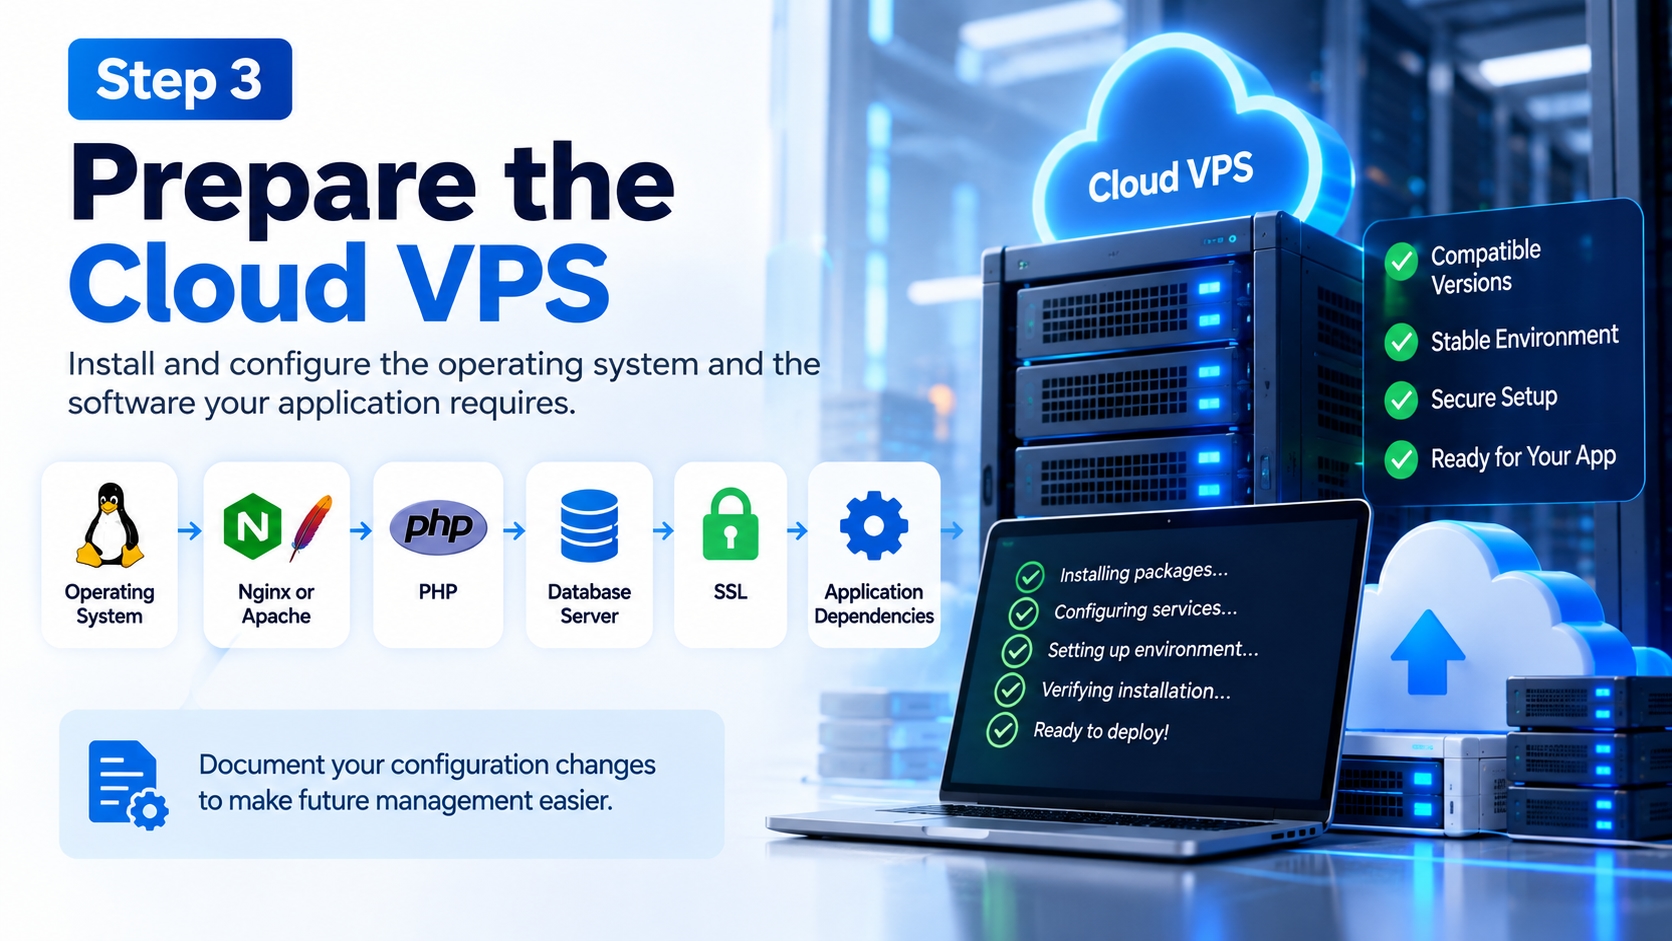
Install the operating system and software your application requires. Depending on the website, this might include:
Nginx or Apache → PHP → Database server → SSL → Application dependencies
Try to keep important software versions compatible with the existing application.
Moving from an old VPS running an older PHP version directly to a much newer environment, for example, can introduce application errors that have nothing to do with the migration itself.
Your first goal should be to get the application working reliably on the cloud VPS. Software upgrades can be handled separately when practical.
If you're moving from a raw server to cloud VPS, document configuration changes instead of relying on memory.
Step 4: Copy Your Website and Application Data
Once the destination environment is ready, begin transferring the data.
For Linux servers, tools such as rsync are useful because they can copy files and later synchronize only files that changed.
For example:
rsync -avz /var/www/ user@NEW_SERVER:/var/www/
The exact command and paths will depend on your server configuration.
Large websites should usually perform the first copy while the original website remains online.
This may take some time, but visitors can continue using the existing server during the transfer.
Step 5: Move the Database Carefully
Database migration needs extra attention because database content can change every minute.
Imagine an e-commerce website.
You copy its database at 10:00 AM, but customers continue placing orders on the old server until 11:00 AM.
If you simply switch to the database copied at 10:00 AM, those newer orders could be missing.
For smaller websites, one practical method is to schedule a short maintenance window for the final database synchronization.
More advanced applications may use database replication or other synchronization methods to reduce interruption further.
The correct approach depends on how frequently your database changes and how much downtime the business can tolerate.
Step 6: Test the Cloud VPS Before Changing DNS
This is one of the most important website transfer steps.
Don't point your domain to the new server immediately after copying the files.
Test first.
You can temporarily map your domain to the new server's IP address using your computer's hosts file. This allows you to open the website on the cloud VPS while normal visitors still reach the original server.
Check important functions such as:
- Homepage and internal pages
- Login
- Forms
- Database connections
- File uploads
- Checkout
- API integrations
- SSL
- Scheduled jobs
Check the server logs as well. A page that looks correct in the browser can still be generating warnings or application errors in the background.
Step 7: Lower DNS TTL Before the Final Switch
DNS determines which server visitors reach.
Before migration, consider lowering the TTL of relevant DNS records in advance.
A lower TTL can help DNS resolvers refresh the server IP sooner after you make the final change.
Don't wait until the moment of migration to lower it. Existing DNS caches may still be using the previous, longer TTL.
This doesn't guarantee an instantaneous worldwide DNS change, but it can make the transition easier to manage.
Step 8: Perform the Final Synchronization
By now, most files should already exist on the cloud VPS.
Just before switching traffic, synchronize anything that changed after the initial transfer.
For a relatively static website, this might mean another rsync.
For a dynamic application, you also need a plan for recent database changes.
Depending on the application, you may briefly enable maintenance mode, perform the final database synchronization, verify the new database, and then proceed with the DNS change.
This approach helps reduce the amount of time during which users could modify data on the old server.
A true zero downtime cloud migration usually requires more than copying files and changing DNS. Applications with constant writes may need database replication, load balancing, or another carefully designed cutover method.
Step 9: Point Traffic to the Cloud VPS
Once you've confirmed that the new environment works correctly, update the relevant DNS record to the new cloud VPS IP address.
Don't shut down the traditional VPS immediately.
Some visitors may temporarily continue reaching the old server because of DNS caching.
Keep the original VPS available during this transition and monitor both systems.
Watch:
- Web server logs
- Application errors
- CPU and RAM usage
- Database connections
- HTTP error rates
If something serious appears, keeping the old server available gives you a much easier rollback path.
For more context on the infrastructure you're moving between, this cloud VPS vs traditional VPS comparison explains performance differences such as storage architecture and CPU behavior.
Step 10: Verify Everything Before Removing the Old VPS
Don't cancel the old server as soon as the website appears on the cloud VPS.
Give yourself time to confirm that traffic has moved successfully and the important services work correctly.
Check your DNS, SSL certificate, database writes, forms, application integrations, scheduled jobs, and backups.
Also make sure new data is being written to the new server, not accidentally to the old environment.
Once you're confident the migration is complete and you have a fresh backup of the new environment, the traditional VPS can be retired.
Can You Really Migrate Without Downtime?
For many websites, downtime can be reduced significantly with good preparation.
But “zero downtime” shouldn't be treated as a guarantee.
A mostly static business website is relatively easy to move with little noticeable interruption. A busy e-commerce platform or application receiving continuous database writes requires a more careful strategy.
The safest principle is simple:
Copy first → Test → Synchronize → Switch traffic → Monitor → Retire the old server
Don't make the DNS switch your first step.
Make it one of your last.
A successful VPS migration isn't about moving everything as quickly as possible. It's about making sure users, transactions, and application data arrive safely on the new infrastructure.