
Brother Printer Setup may seem tricky at first, but the process is easier than you think. Whether you’ve bought it for your home or office use, this guide will help you get your Brother printer up and running in no time. In this blog, we’ll walk through the simple steps to unbox, connect, install, and test your printer. We’ll also cover both wireless and USB setup options. Let’s get started.
Step 1: Unbox Your Brother Printer
The first thing you need to do is carefully unbox your printer. Make sure you remove all tapes, plastics, and packaging materials. Inside the box, you should find the printer, power cord, ink or toner cartridges (depending on the model), user manual, and installation CD (in some models).
Pro Tip: Place your printer on a flat surface near your computer and a power outlet.
Step 2: Plug In and Power On
Connect the power cord to your Brother printer and plug it into a wall outlet. Press the power button to turn it on. The printer may take a minute or two to start. Once it’s on, you’ll likely see a setup screen on the printer’s display.
Step 3: Install Ink or Toner Cartridges
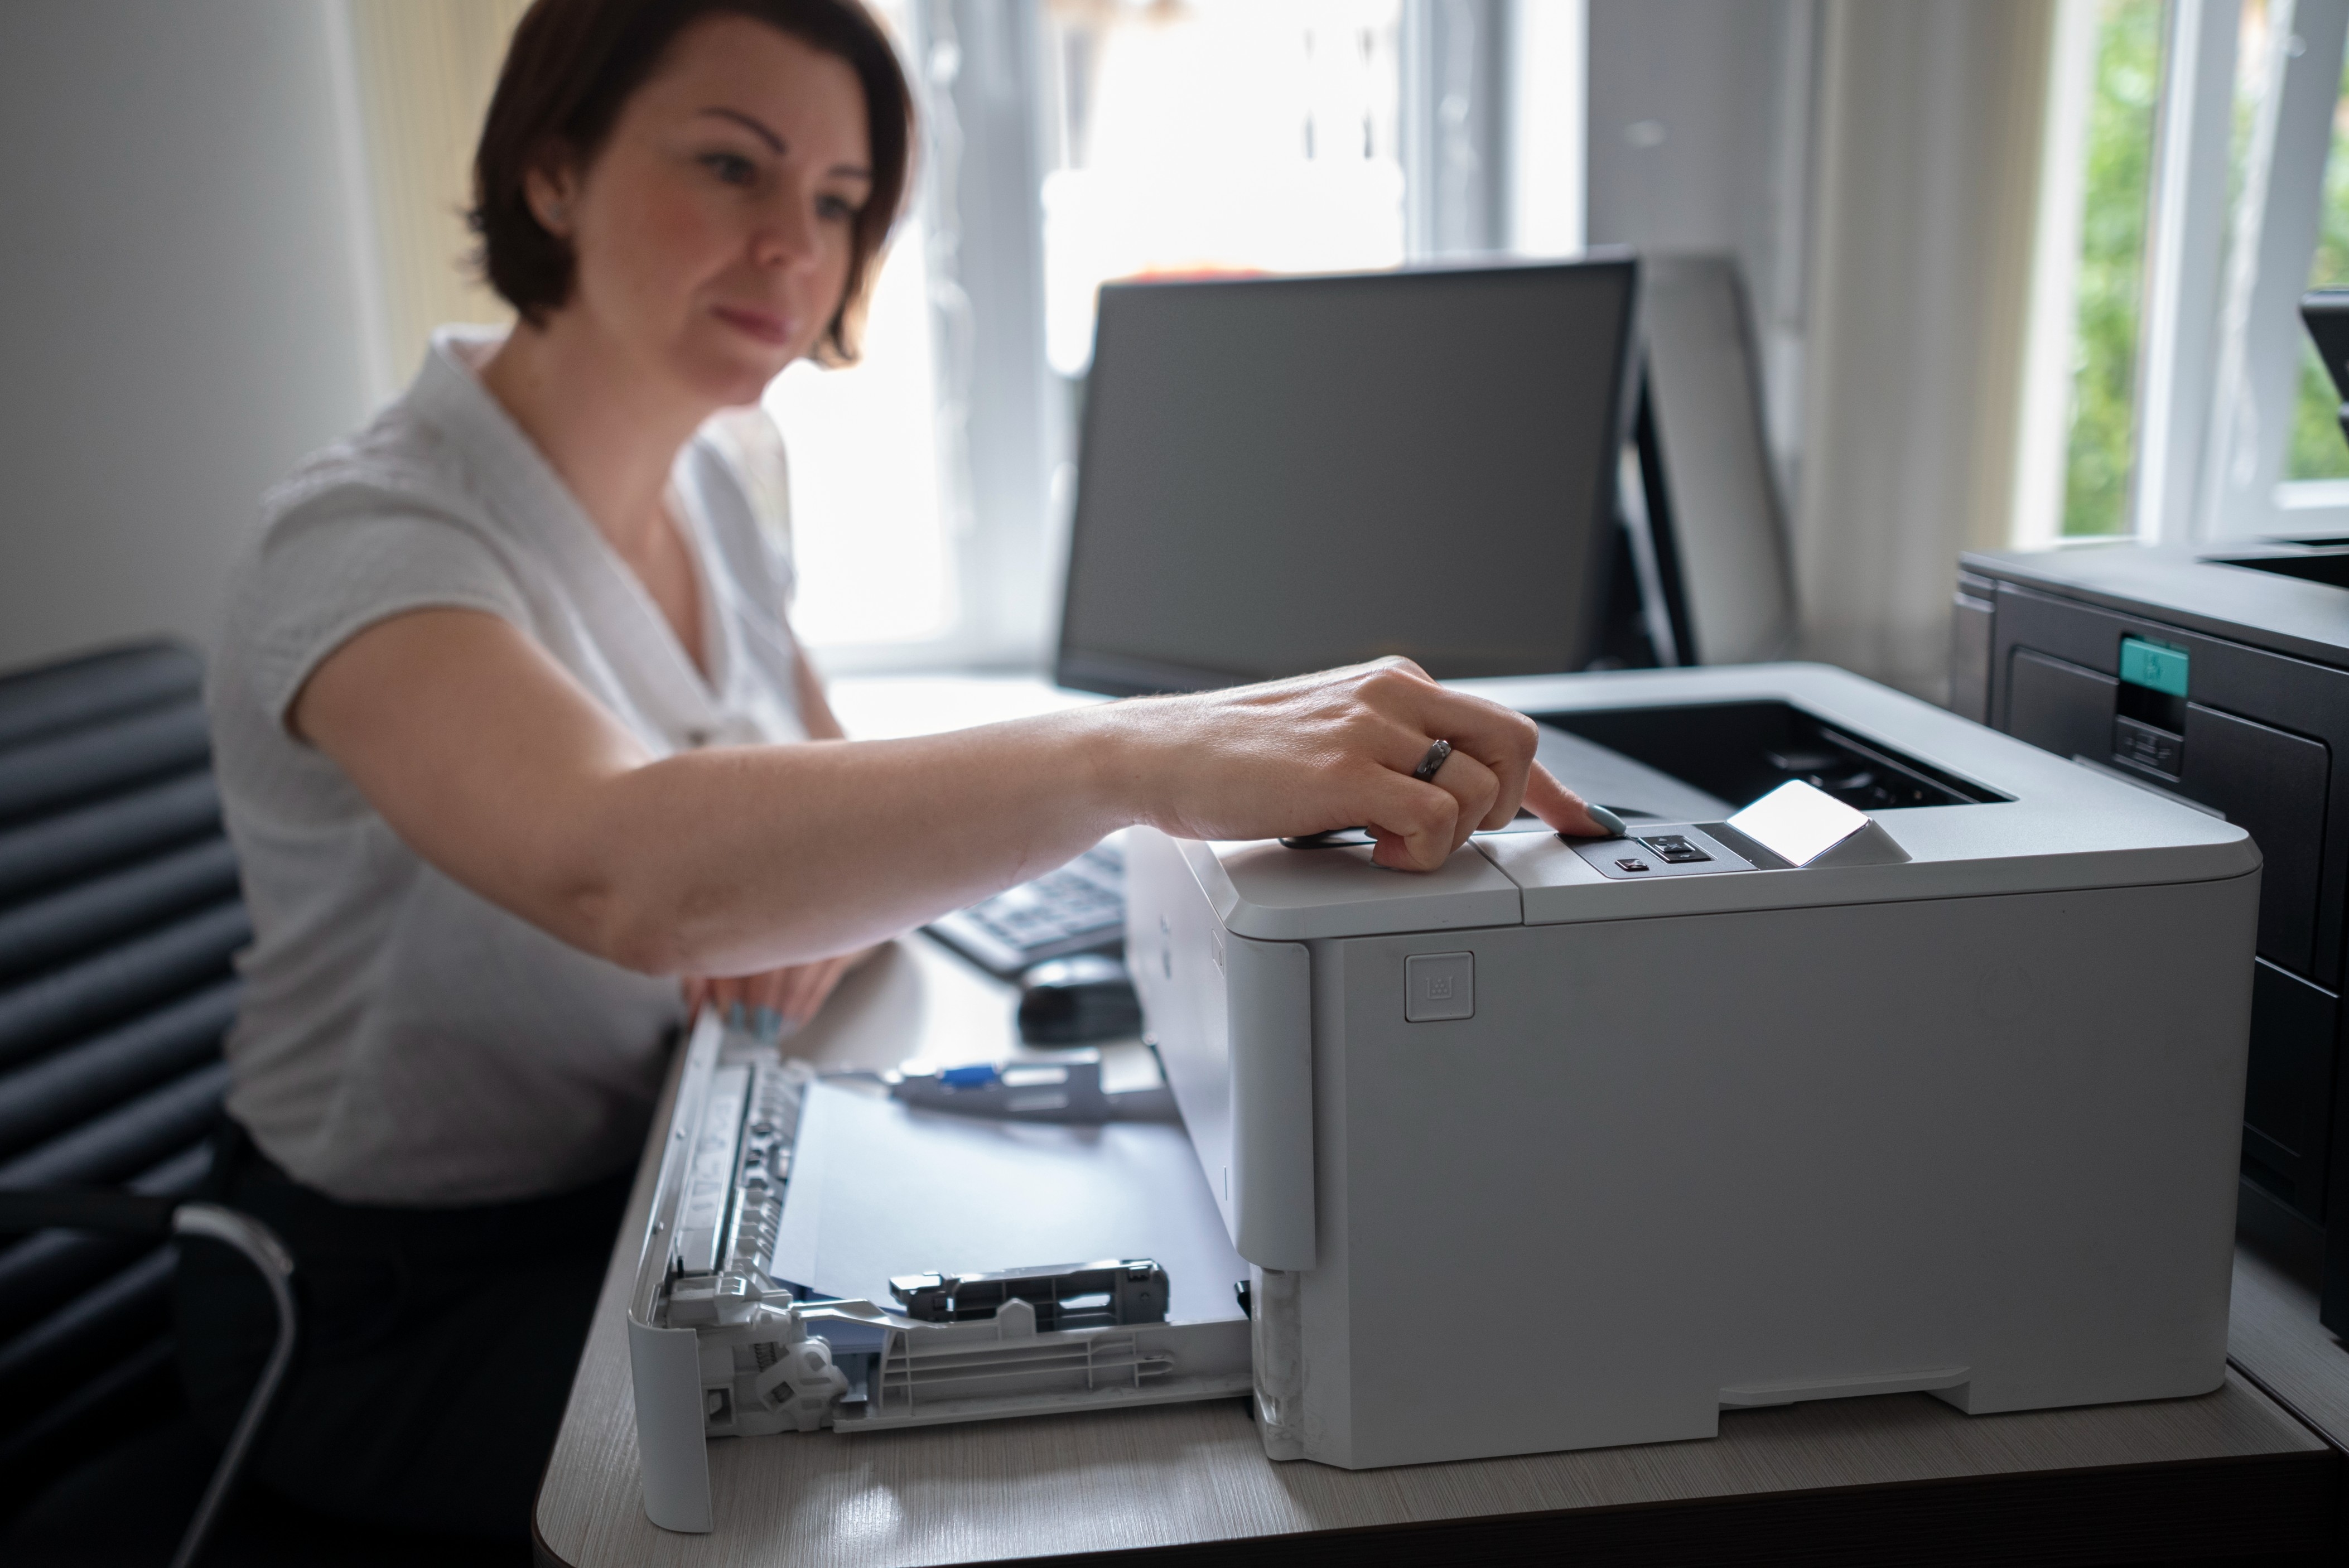
Now it’s time to install the cartridges that came with your printer. Open the front or top cover (based on your model), insert the cartridges in their correct color slots, and press them gently until they click into place. Close the cover and wait for the printer to detect the cartridges.
Step 4: Load Paper
Open the paper tray, place a stack of plain A4 or letter-sized paper, and adjust the paper guides. Make sure the paper is neatly placed and the guides are not too tight.
Step 5: Connect the Printer
There are two main ways to connect your Brother printer to your device—wireless (Wi-Fi) and USB cable.
Wireless Connection (Wi-Fi Setup)
On the printer’s control panel, go to Menu > Network > WLAN > Setup Wizard.
The printer will search for available Wi-Fi networks.
Select your Wi-Fi network name (SSID) and enter the password using the printer keypad.
Once connected, the printer will show a confirmation message.
Your printer is now ready for wireless printing.
USB Connection
Take the USB cable that came with the printer.
Plug one end into the printer and the other into your computer.
Your computer should detect the printer automatically and begin installing drivers.
Step 6: Install Printer Software or Driver
To make sure your computer communicates properly with your printer, install the official Brother printer driver.
How to do it:
Go to the Brother support website.
Search for your printer model.
Download the latest driver for your operating system (Windows or macOS).
Run the downloaded file and follow the on-screen steps to complete the installation.
If your printer came with a CD, you can also use it to install the driver.
Step 7: Print a Test Page
After the setup is complete, it’s a good idea to print a test page to make sure everything is working fine.
On Windows:
Go to Control Panel > Devices and Printers.
Right-click your Brother printer > click Printer Properties.
Click Print Test Page.
On Mac:
Go to System Preferences > Printers & Scanners.
Select your printer and click Options & Supplies > Utility > Print Test Page.
If the page prints successfully, your setup is complete!
Troubleshooting Tips
Wi-Fi not connecting? Make sure your router is working and you're entering the correct password.
Driver not installing? Try restarting your computer or downloading the driver again.
Printer not detected via USB? Try using a different USB port or cable.
Final Thoughts
Setting up a Brother printer doesn’t have to be hard. Whether you're connecting via Wi-Fi or USB, the steps are clear and easy to follow. Once you unbox, plug in, load paper, and install the software, you’re ready to print. Always remember to download the correct driver for your printer model and system.
With this guide, you should now be able to setup Brother printer without any stress. Happy printing!
